Accessibility Retest Report
Checklist for accessibility retest reports after remediation: original findings, WCAG evidence, status, regressions, and closure.
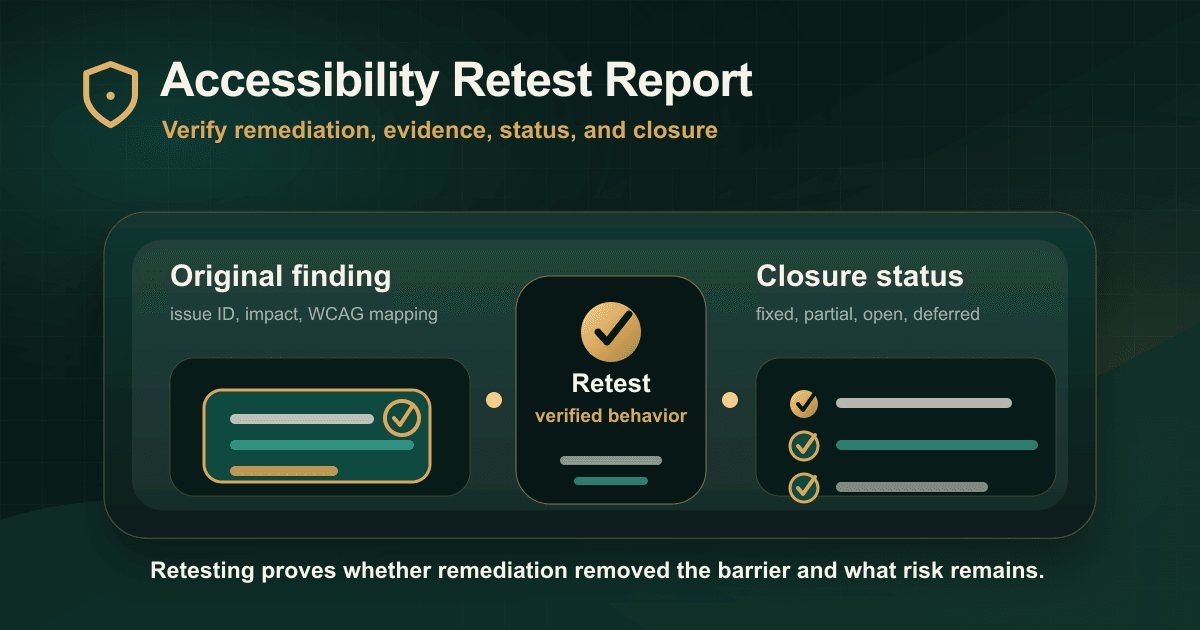
For product and engineering teams, accessibility retesting is the step that proves whether remediation actually worked.
Closing a ticket is not the same as closing the barrier.
Start with the original issue
Every retest item should reference:
- Original issue ID.
- Original finding title.
- Affected screen or component.
- WCAG criterion.
- Original severity.
- Original user impact.
This keeps the evidence trail clear.
Verify the actual behavior
Retesting should repeat the original failure path.
Check whether:
- Keyboard behavior works.
- Focus order is logical.
- Screen reader output is correct.
- Forms and errors are recoverable.
- Dynamic updates are announced.
- Documents are structurally accessible.
- The full workflow can be completed.
Use practical statuses
A useful retest report should distinguish between fixed, partially fixed, not fixed, deferred, unable to verify, and out of scope.
This prevents partial fixes from being hidden.
Document the test environment
Include the browser, device, app version, document version, assistive technology, URL, or environment where relevant.
Future teams should be able to understand what was verified.
Check related components
If the issue lives in a reusable component, retest more than one occurrence where possible.
Modals, menus, forms, date pickers, alerts, tables, and document templates often repeat across products.
Conclusion
Accessibility retesting should be evidence-led.
The report should show what changed, what was verified, what remains open, and what needs to happen next.
Read the original guide on IAAP Audit: https://iaapaudit.com/blog/accessibility-retest-report-after-remediation